Standard Steps for All Nursing Procedures
At the Beginning of the Procedure
Step A. Perform the task according to protocol.
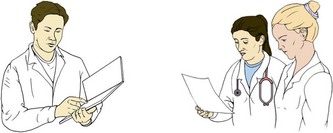
Mentally review the steps of the task beforehand. If you are uncertain how to do a task, ask your team leader, resource nurse, instructor, or charge nurse. Plan for efficiency of time and effort while delivering safe care.
Step B. Check the order, collect the equipment and supplies, and wash your hands.
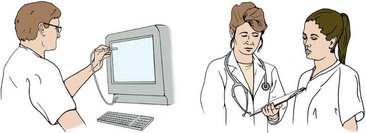
Verify that the procedure is to be done for the patient. Check the agency’s policies and procedures manual for the accepted method of performing the procedure. Process equipment and supply charges. Take all equipment and supplies to the patient’s room.

Step C. Identify and prepare the patient.
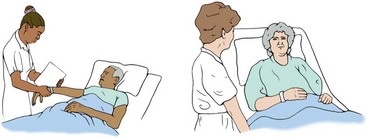
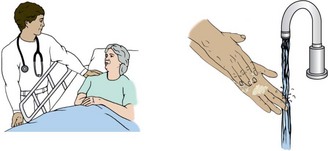
Greet the patient, introduce yourself, and check the patient’s identification band. Use two identifiers during the identification process. Explain what you are going to do in terms the patient can understand. Elicit questions and answer clearly. Provide necessary teaching related to the procedure to be performed.
Step D. Provide privacy and institute safety precautions; arrange the supplies and equipment.
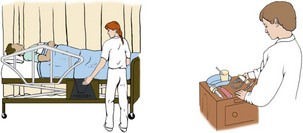
Close the door or curtains and drape the patient before beginning the procedure or discussing information the person might want kept confidential. Check equipment for breaks or wear and for safety. Set up the equipment and supplies in an orderly, methodical fashion. Raise the bed to an appropriate working height. Raise the side rail before turning the patient and be certain that the wheels are locked. Perform hand hygiene to prevent contaminating the patient with organisms from the chart, the nurses’ station, and the supply room.
During the Procedure
Step E. Use Standard Precautions and aseptic technique as appropriate.
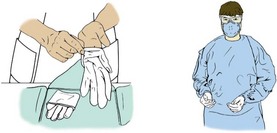
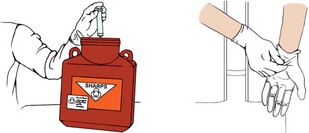
Protect yourself from blood and body fluids by wearing gloves. If there is a danger of splashing blood or body fluids, wear protective glasses or goggles and an impermeable cover gown or apron. Be very careful with sharp instruments and needles so as not to nick your skin. (See Appendix 5: Standard Precautions.)
At the End of the Procedure
Step X. Remove gloves and other protective equipment.
After making certain the patient is clean and dry, dispose of used supplies, remove goggles and other protective equipment, and discard or store appropriately. To remove gloves without contaminating yourself, begin by pulling one glove off without touching your skin; hold the removed glove in the palm of the remaining gloved hand and then reach to the inside of the other glove and roll it down the hand. Dispose of the gloves in the trash. Perform hand hygiene immediately.
Step Y. Restore the unit. Collect the used equipment; dispose of, clean, or store items in the proper places.
Make the person comfortable, tidy the bed and unit, place the call light and personal items within reach, and provide for safety by lowering the bed. Remove used equipment. Soiled linens are placed in a soiled-linen hamper. Reusable items are cleaned and returned to the storage or processing area (central supply). Discontinue use of the equipment on the computer so no further charges will be made. Remove unsightly, odorous, or potentially infectious trash from the room. Inquire if anything else is needed. Perform hand hygiene before leaving the room.
Step Z. Record and report the procedure.
Document assessment findings and the details of the procedure performed, or care given, in the chart. Include any problems encountered and the patient’s response to the care or treatment. The recording should be accurate, specific, concise, and appropriate and should include the specific time the procedure was performed and how it was done. Report abnormalities encountered to the charge nurse or physician.